 Sema Image
Sema Image
Sema Image
Thermal cameras reveal heat patterns that ordinary lenses cannot see. They support electrical inspections, building diagnostics, firefighting, manufacturing, and predictive maintenance. Grand View Research’s Thermal Imaging Market Size, Share & Trends Analysis Report, 2024–2030, identifies continued growth in industrial and security applications. That growth also exposes a common problem: users expect instant, stable images from every device.
Why is my thermal camera showing "ghost images" or lag? The cause may be simpler than a failed sensor. Rapid movement can exceed the camera’s frame rate. Automatic gain control may also redraw the scene slowly. Warm objects can remain visible briefly after they leave the frame, creating image persistence. Reflections, incorrect emissivity settings, low battery power, heavy digital processing, and a contaminated lens can produce similar symptoms. Sometimes, the display is blamed unfairly.
Standards provide useful direction. ISO 18434-1 explains how thermography supports condition monitoring, while ASTM E1933 emphasizes measurement procedures, emissivity, and environmental influences. These principles matter during troubleshooting. Check the lens first. Then test a stationary target, disable unnecessary enhancement modes, and compare different frame-rate settings. Record the ambient temperature and battery condition. A controlled test is more reliable than guessing.
Still, not every camera behaves identically. Sensor type, firmware, refresh rate, and software compression can change the result. FLIR and other manufacturers commonly publish NETD, frame-rate, and response specifications for this reason. If the image remains delayed after basic checks, update the firmware and contact qualified technical support. The overlooked detail may be the real fault.
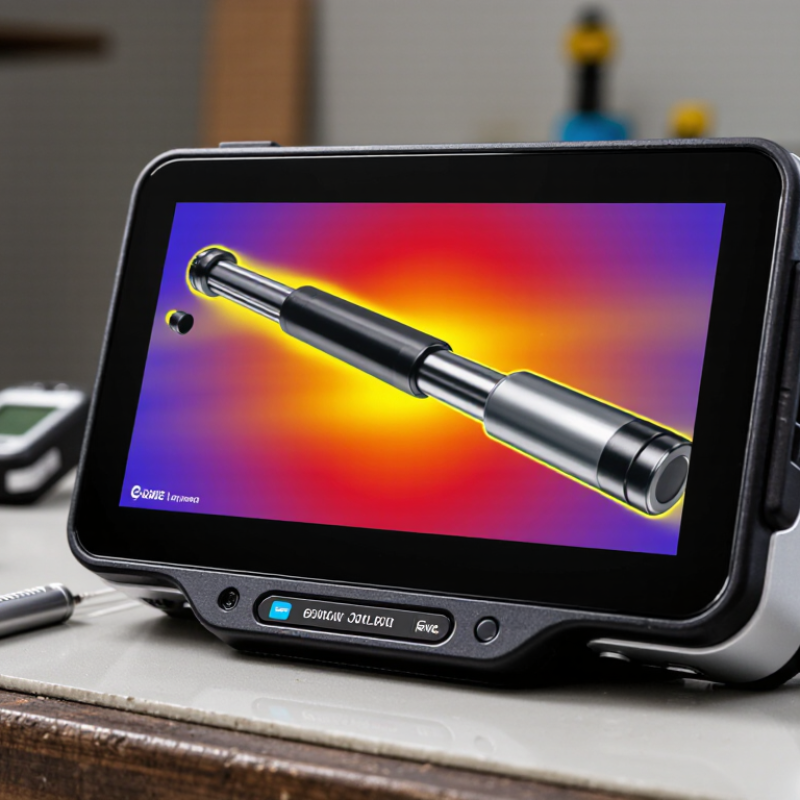
Ghost images appear when a warm object seems to remain on screen after it moves. A person may leave a pale outline across a cooler wall. Lag looks different: the image updates late, so a moving hand appears behind its real position. These clues matter. They point to different causes, even when both make the view feel wrong.
To check for ghosting, hold the camera steady and move a warm object, such as a mug, across a plain surface. Watch whether its outline fades over several seconds or stays fixed in the same pixels. Some sensors retain a temporary pattern after viewing strong temperature contrasts; a calibration cycle may clear it. For lag, pan slowly past a doorframe, then stop. If the frame keeps shifting or catches up in steps, note the delay and whether it changes with screen recording or image processing settings. That distinction can be easy to miss.
Record the room temperature, focus distance, battery level, and time since startup. Compare a still scene with a moving one, and repeat the test after the camera has warmed up. A dirty lens usually softens edges rather than leaving a persistent thermal outline, but it can confuse the check. I would not diagnose from one clip alone; reflections, changing airflow, or automatic calibration can imitate a fault. If the artifact persists across steady scenes and resets, save sample images and seek qualified service.
| Observed issue | How to identify it | Likely cause | Recommended check or fix | What to expect |
|---|---|---|---|---|
| A faint outline remains after a hot object moves | The outline appears in later frames, even after the object has left the scene. | Detector image persistence, often more noticeable after viewing a high-contrast or unusually hot scene. | Point the camera at a stable, evenly heated scene and allow its automatic non-uniformity correction (NUC) cycle to complete. Follow the camera’s operating guidance; do not look at a sun or other intense heat source. | The residual outline should fade after correction or a short recovery period. Persistent marks may need technical inspection. |
| The whole image briefly freezes or shifts during use | Motion pauses, then the image resumes; a shutter click or brief interruption may coincide with the event. | An automatic NUC or shutter-based calibration cycle. Many thermal cameras periodically correct detector non-uniformity. | Check whether the pause coincides with a correction indicator or shutter sound. Keep the camera powered and allow the cycle to finish; check the manual for available calibration settings. | A brief interruption can be normal. Frequent or unusually long pauses should be compared with the camera’s documented behavior. |
| The display reacts slowly when the camera or target moves | Objects appear to trail or jump, while a stationary scene looks more stable. | Low frame rate, image-processing delay, or video transmission latency. | Compare the live view with a saved recording, if available. Reduce unnecessary display processing or stream load, use a direct connection, and check the configured frame rate and video output settings. | If the local view is smooth but the remote stream lags, the delay is likely in the connection or receiving device rather than the detector. |
| Ghosting or lag begins after extended operation | The problem develops as the camera warms up or occurs in a hot environment. | Operating conditions outside the specified temperature range, inadequate ventilation, or thermal stabilization behavior. | Check the camera’s rated ambient and operating temperatures. Improve airflow, keep vents unobstructed, and let the camera stabilize within its specified range. | Performance may improve once the camera is operating within its specified environmental limits. |
| The image appears blurred or smeared, but no residual heat pattern is visible | Fine details look soft even when the camera and target are stationary. | A dirty or obstructed lens, incorrect focus, or a protective window that is unsuitable for the camera’s infrared band. | Inspect the lens and any protective window. Clean only as directed by the manufacturer, confirm focus, and use an infrared-compatible window where required. | Improved focus and transmission should sharpen the scene; a normal visible-light window may block thermal infrared radiation. |
| The image breaks up or freezes only on a remote monitor | The camera’s local display is responsive, but the network or external display is delayed or choppy. | Limited bandwidth, wireless interference, packet loss, or receiver-side decoding load. | Test a wired connection, reduce stream resolution or bit rate if supported, and check network stability and receiver performance. | A stable connection and lighter stream workload can reduce transmission delay without changing the thermal detector’s response. |
| Artifacts remain after basic checks and a restart | The same pattern persists across stable scenes and does not clear after a normal correction cycle. | Possible detector, shutter, calibration, or internal processing fault. | Record a short sample, note the operating conditions and correction behavior, then consult qualified service support. Avoid opening the camera housing. | Service diagnostics can distinguish a persistent hardware issue from normal image correction or a video-path problem. |
Diagnostic note: Compare a stationary scene with a moving scene, and distinguish detector image persistence from display or transmission latency before changing settings.
Check level and span, emissivity, focus, and refresh rate. A narrow temperature span can exaggerate small differences.
Hold the camera still, then pan slowly across a warm object against a cool wall. If the image clears when movement stops, display lag may be involved.
Yes. Shiny metal reflections, rising hot air, or someone crossing the camera’s view can resemble a camera fault.
Yes. A lens smudge can create a soft shape that stays visible. Clean the lens and check again.
Test with a fully charged battery, then use a stable, approved power supply. If lag changes when the cable moves, inspect its connection.
A low display refresh rate can delay motion. Temporal noise reduction can blend frames and leave a brief second outline.
No. Stay within the camera’s supported range, then test a warm object moving steadily. Higher rates may not always produce clearer images.
Change one setting at a time and record its original value. Repeat the same slow pan across a doorway.
The image may show more speckle, especially on low-contrast surfaces. Compare edge detail with noise; the clearest setting may be a compromise.
Minimize processing and check for a slow display mode. Wait a few seconds after each change, then consult the manual for frame-rate limits.
Why is my thermal camera showing "ghost images" or lag? These issues often result from image persistence, unsuitable camera settings, changing scene conditions, or an unstable power supply. Start by checking whether the effect appears in the live thermal view or only on the display, then confirm that settings such as frame rate and image processing match the scene. Make sure the camera has adequate, consistent power and that environmental changes are not confusing the image.
To clear a lingering image, use the camera’s calibration or shutter-refresh function and allow it to complete. If the picture still feels slow, adjust the frame rate or reduce processing features that may add delay. Check for available firmware updates, since software improvements can resolve performance problems. If ghosting or lag continues after these checks, inspect the camera for signs of hardware trouble or seek qualified service. A step-by-step approach can help distinguish a temporary setting or calibration issue from a fault that needs repair.
